
Hello everyone, welcome to the HomeLab setup series. In this series, I will be showing you how to build a HomeLab for pen-testing, malware analysis, web development or for practice.
The first step is to set up a virtualization server for our VM’s. You can use an old desktop or workstation you don’t use, or you may opt to use a workstation/server build depending on your requirements and the amount of VM’s you will be running. I will be repurposing an old Dell workstation with modest system resources:
-
Core 2 Quad Q6600
-
8GB DDR3 RAM
This will serve me well, as I usually have multiple VM’s running during a pentest, testing a POC or when deploying a web application. I will also be using the virtualization server to host a NextCloud instance for my document backups.
Note: If you are planning on using Proxmox in an enterprise environment, I would recommend using server-specific hardware.
Hardware Requirements
CPU: 64bit (Intel EMT64 or AMD64)
Intel VT/AMD-V capable CPU/Mainboard (for KVM Full Virtualization support)
Minimum 1 GB RAM
Hard drive
One NIC
Installing Proxmox
You can download Proxmox here: https://www.proxmox.com/en/downloads. You can download the ISO file directly or by torrent. The ISO file is about 750MB so it can be burned on a disc or on a flash drive with no problem.
I will be downloading the latest version (V6.0), I also recommend downloading the admin guide for Proxmox, it will help you understand how Proxmox VE works and how it can be managed efficiently.
Proxmox recommends installing the ISO file with Etcher, you can download it here: https://www.balena.io/etcher/
The installation process is extremely straight forward, as a result, I will only cover the basics.
Here is the main boot screen.
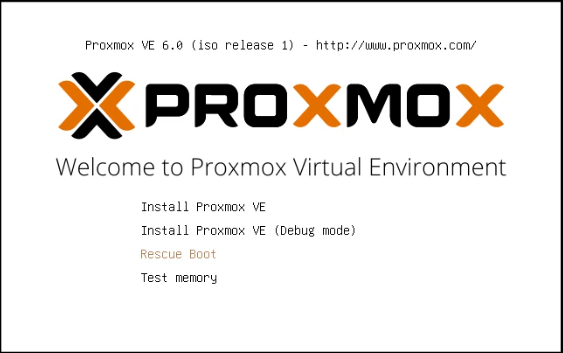
As you can see, Proxmox also facilitates rescue boot, which is excellent for enterprise environments, as you can recover the root password if you forget it, or if the server is compromised.
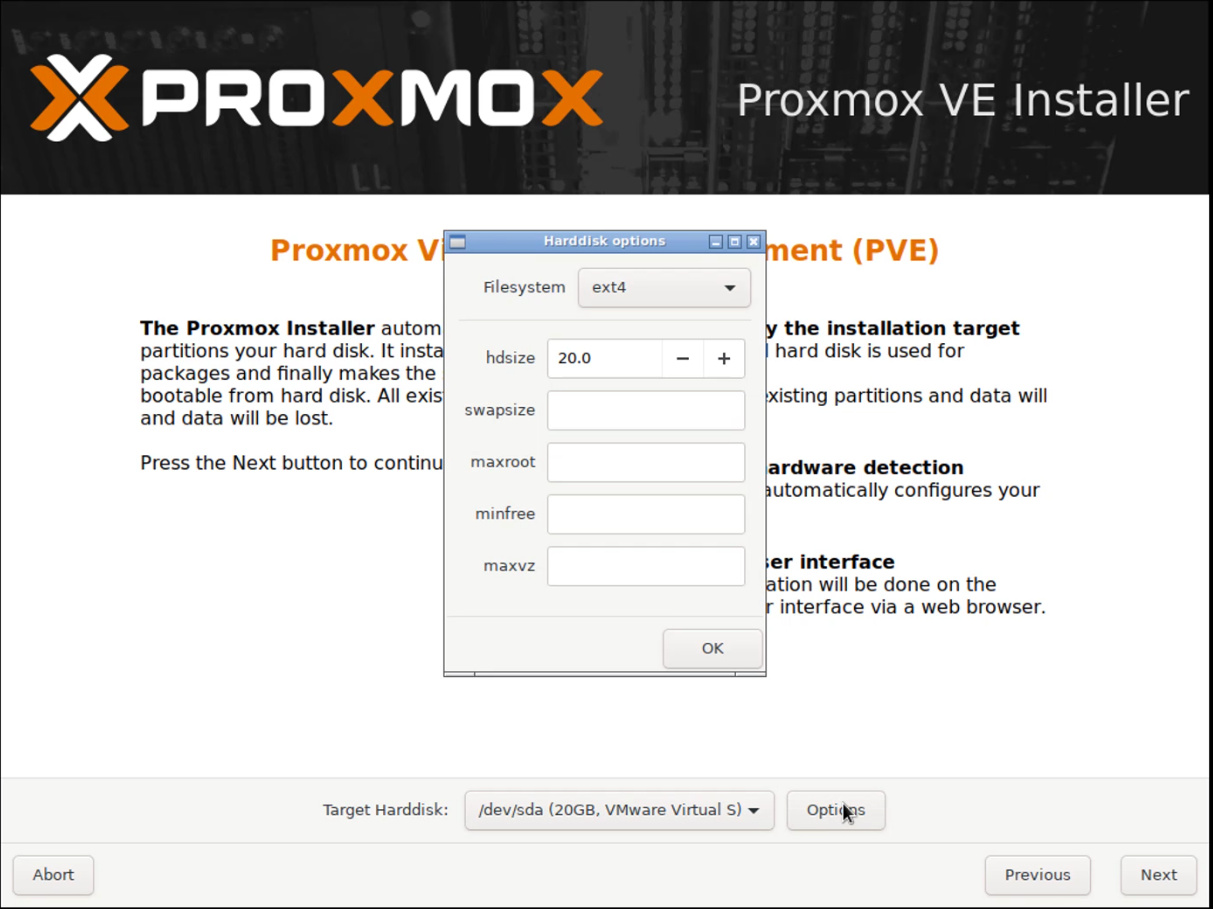
The installation wizard will take you through the initial stages where you will need to select your language, locale, and keyboard layout. You then need to specify your installation drive, you can also manually format and partition the drives if they contain files, or you want to resize partitions.
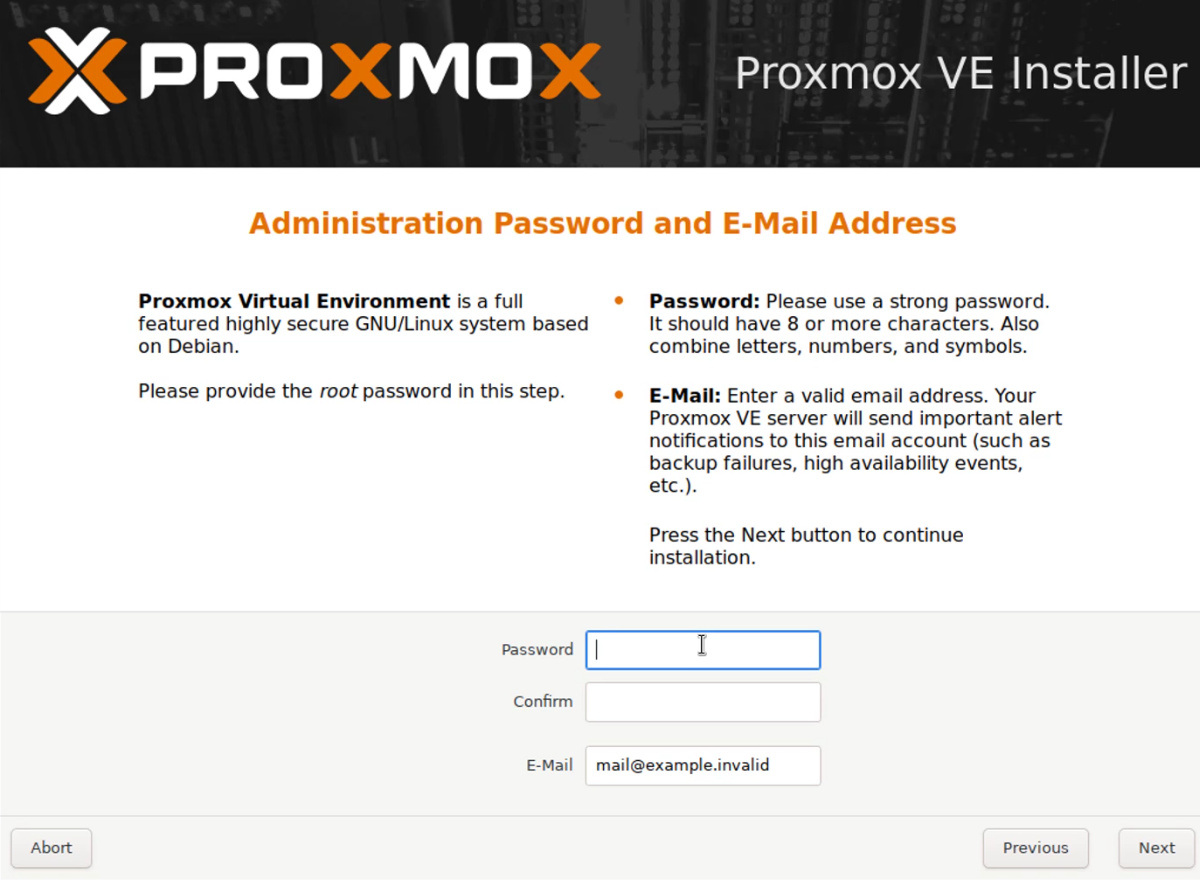
You will then be prompted to set up your administrator profile, remember to keep the password safe and secure. You should also set up a reliable email because Proxmox will use it to send you important system notifications.
After setting up your administrative profile, you need to set up your network settings. The IP will be assigned statically, so remember to reserve the IP address you want to use for the virtualization server.
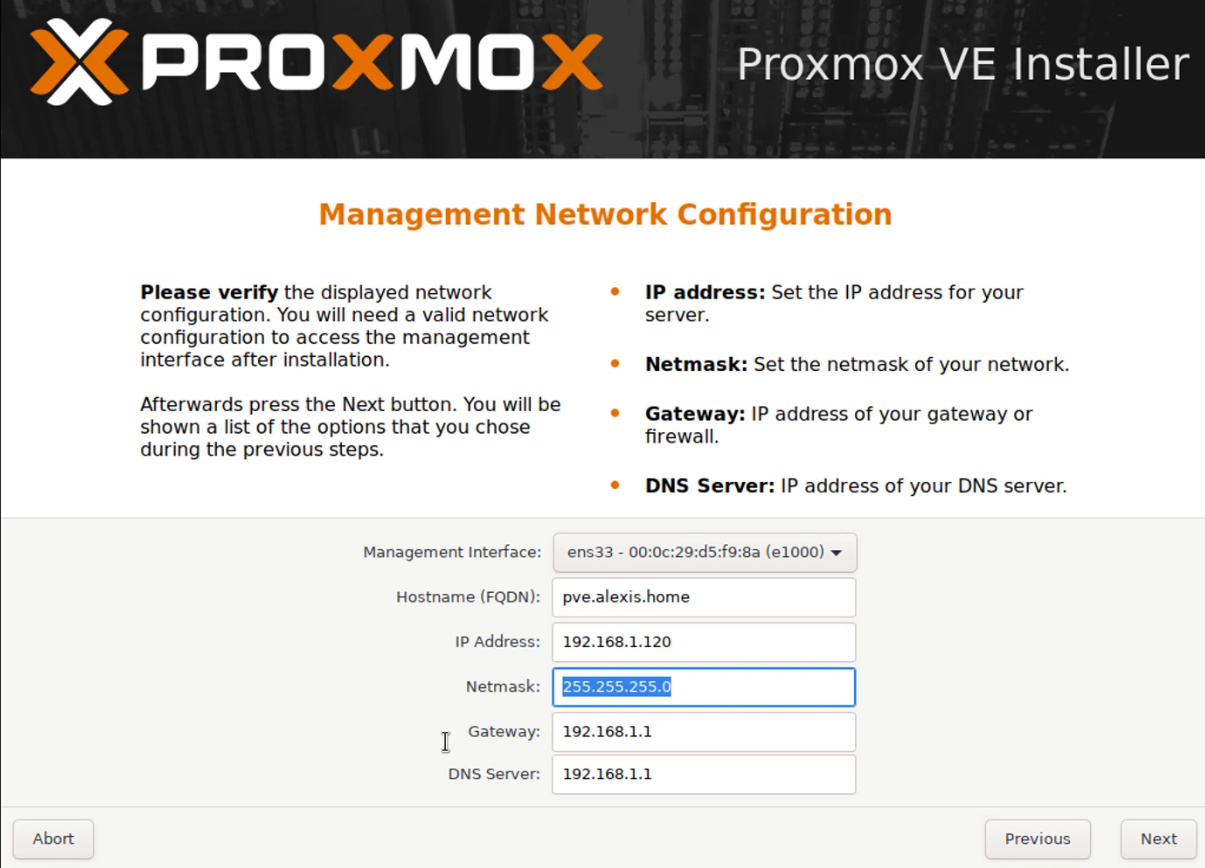
In my case, I will be using the IP address 192.168.1.120.
After specifying the network options, the installation will now commence. It will take a few minutes to complete the installation.
After the installation, Proxmox will reboot into the freshly installed system. You will be greeted with the following screen displaying the IP address you specified in the Networking options.
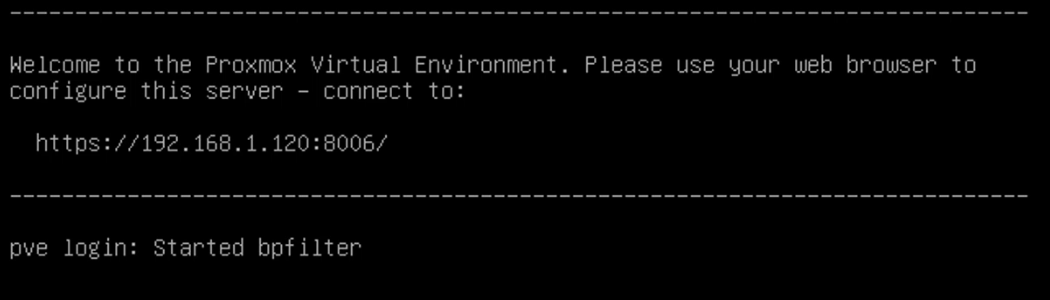
The IP address and the corresponding port to access the web interface will be displayed. When accessing the web interface you must use the HTTPS protocol (we will take a look at how to install a valid SSL certificate later). You will be greeted with the “Potential security risk” error message, you should accept the risk and you will be redirected to the web interface log in prompt.
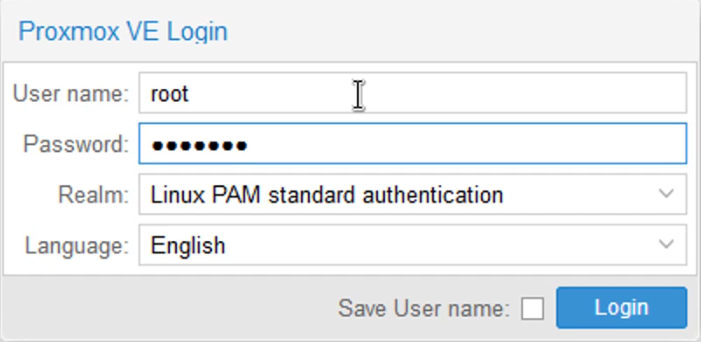
After logging in, you will be greeted with the Proxmox administration panel.
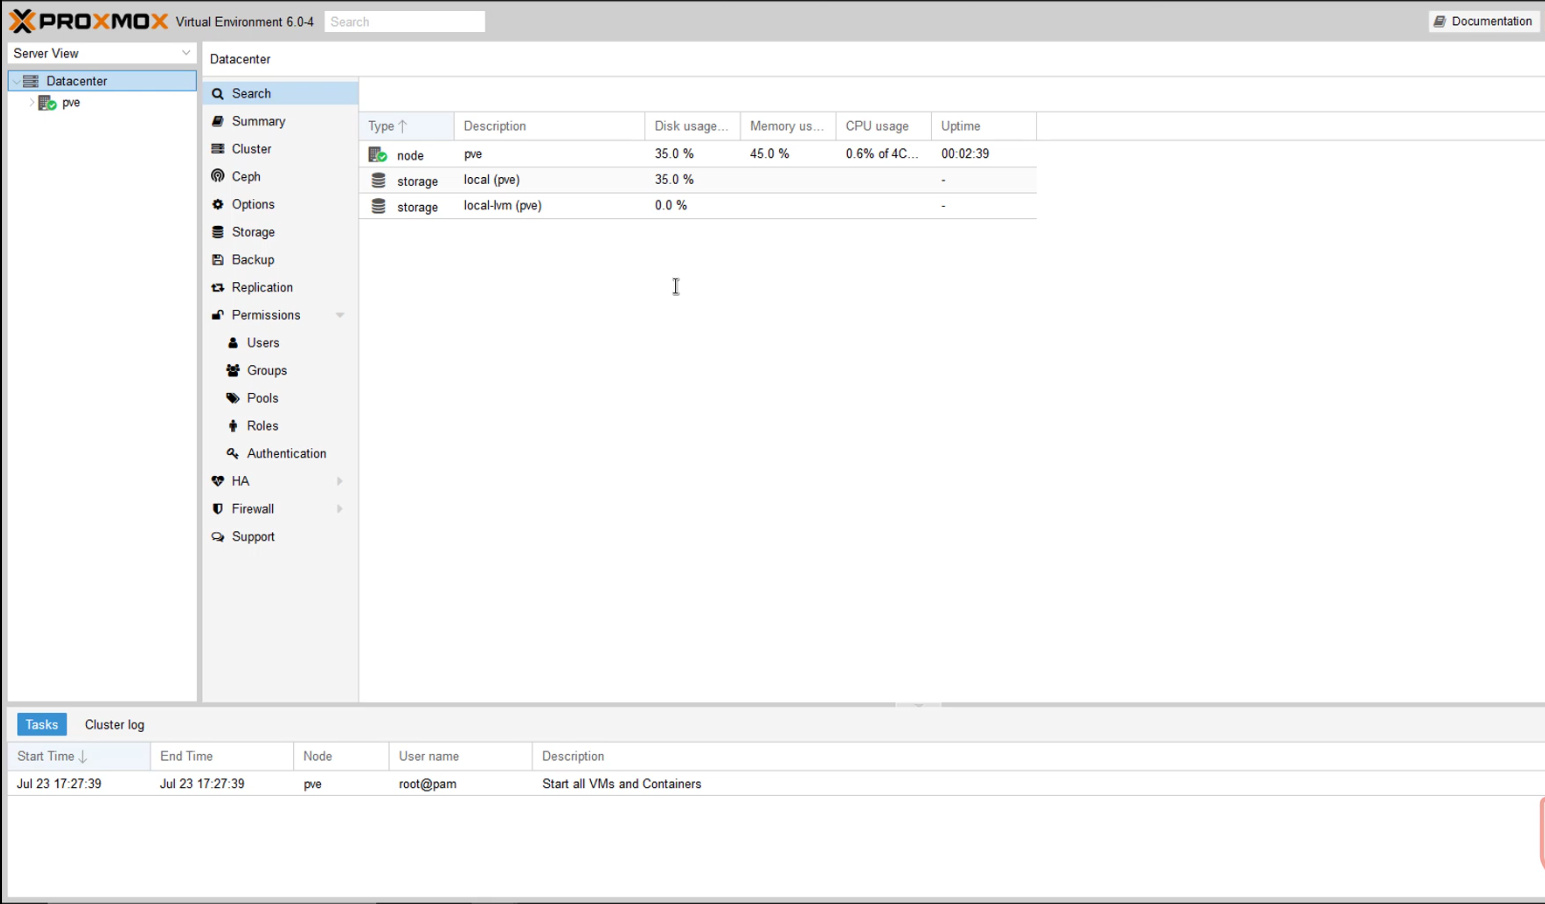
We have successfully installed Proxmox VE, and we can now begin adding and configuring VM’s on our virtualization server. I will cover this in the next post in the HomeLab category.
If you have any questions or run into any issues, make sure to post them here.
Thanks for reading!
